So I finally got Abigail's crib finish sanded, cleared, and assembled... I'm pretty happy with how it turned out (and even more excited to see that cherry darken over time)! Abigail hasn't really tested it out yet - just naps. I'm so glad Jon (and Holly) were nice enough to put up with me constantly coming over and stealing their garage to work on it. It also would have taken even longer if Jon hadn't been there to keep me from doing things wrong the first time! Here are some pictures of the process and the finished product. If anyone wants a custom-made crib, just let Jon know - I'm out of the business for a while! :)
p.s. please excuse the less-than stellar pictures... a lot of these were taken with my phone in a dark garage :)
Jointed, planed, cut to size and labeled
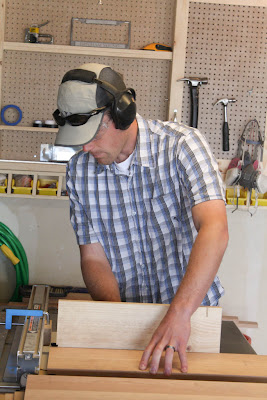
Jon at the jointer
Lots of jointing
Cutting tenons
More tenons
Cleaning up the joints
Look carefully for proof of blood, sweat and tears... :)
Jon worked hard, too!
Resident expert
Mortises for the side bottom rail
One frame complete
Two down...
Glued and clamped front panel
Steam-bent caps clamped in place to cure on the side panels
Same from the side
Back panel cap clamped in place - it's actually 4 separate pieces individually steamed, bent and glued in place... That was a frustrating day!
Detail of the brass hardware
One of the trim pieces glued up before application to the crib
This is our makeshift paint booth - aka the garage... I ended up using a wipe-on polyurethane (5 coats) for the finish, which kept the dust down, but it still required LOTS of sanding and tack cloth between coats!
All done. It should darken quite a bit as it ages (one of the cool aspects of using cherry).


